Clients
Clients are organizations to which you can provide translation services within shared projects. In the Clients section of your workspace, you’ll find a list of all the clients you collaborate with.
The client organization can invite vendors either by using a subdomain in Crowdin or a shareable link. In the first case, the client organization will need your organization’s name to send you the vendor invitation. Once you confirm the invitation, this organization can assign you to the workflow steps of their projects.
If you have clients you’d like to collaborate with in Crowdin Enterprise, you can invite them using a shareable link:
- Open your organization’s Workspace and select Clients on the left sidebar.
- Click the Invite button at the bottom right.
- Click Copy Link.
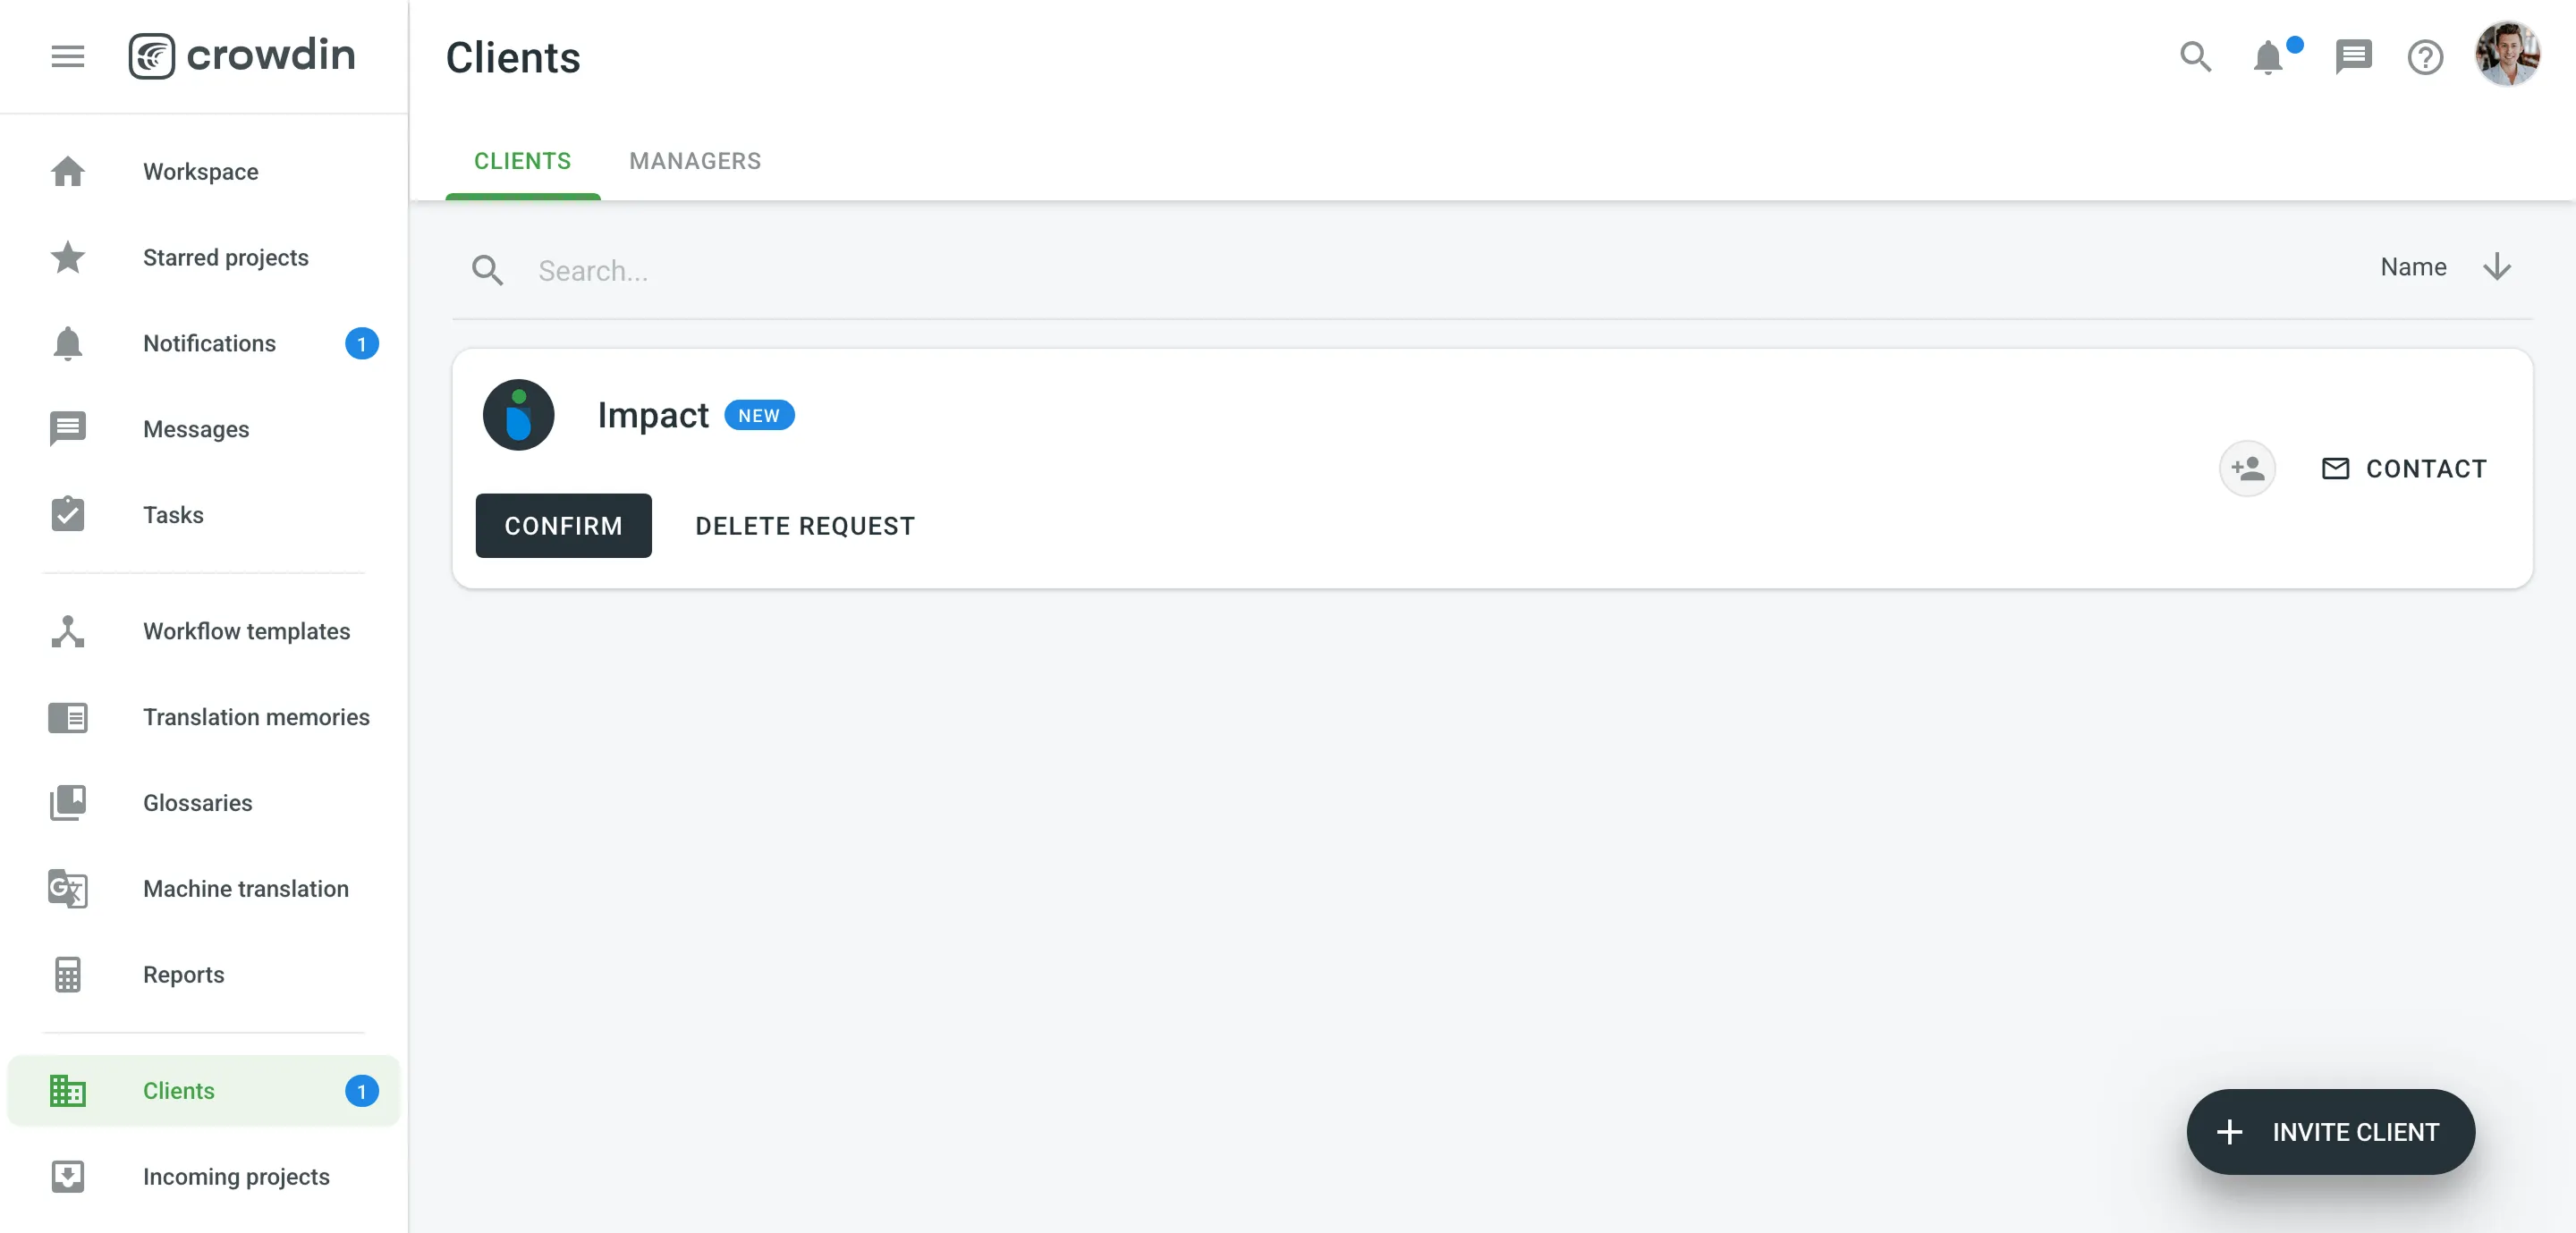
To contact the client organization and discuss any localization-related questions, follow these steps:
- Open your organization’s Workspace and select Clients on the left sidebar.
- Click Contact next to the needed client.
After you confirm the client’s request, the Client Organization will be able to assign your Organization to the workflow steps of their projects.
To accept a request from a Client and start cooperation, follow these steps:
- Open your organization’s Workspace and select Clients on the left sidebar.
- Click Confirm next to the new Client request.
The Incoming Projects section will contain all the projects you’re working on as a vendor.
If your organization is assigned to work on a project, you’ll see a pending request and will be able to add it to your workspace. You can organize incoming projects into groups for easier navigation and user management.
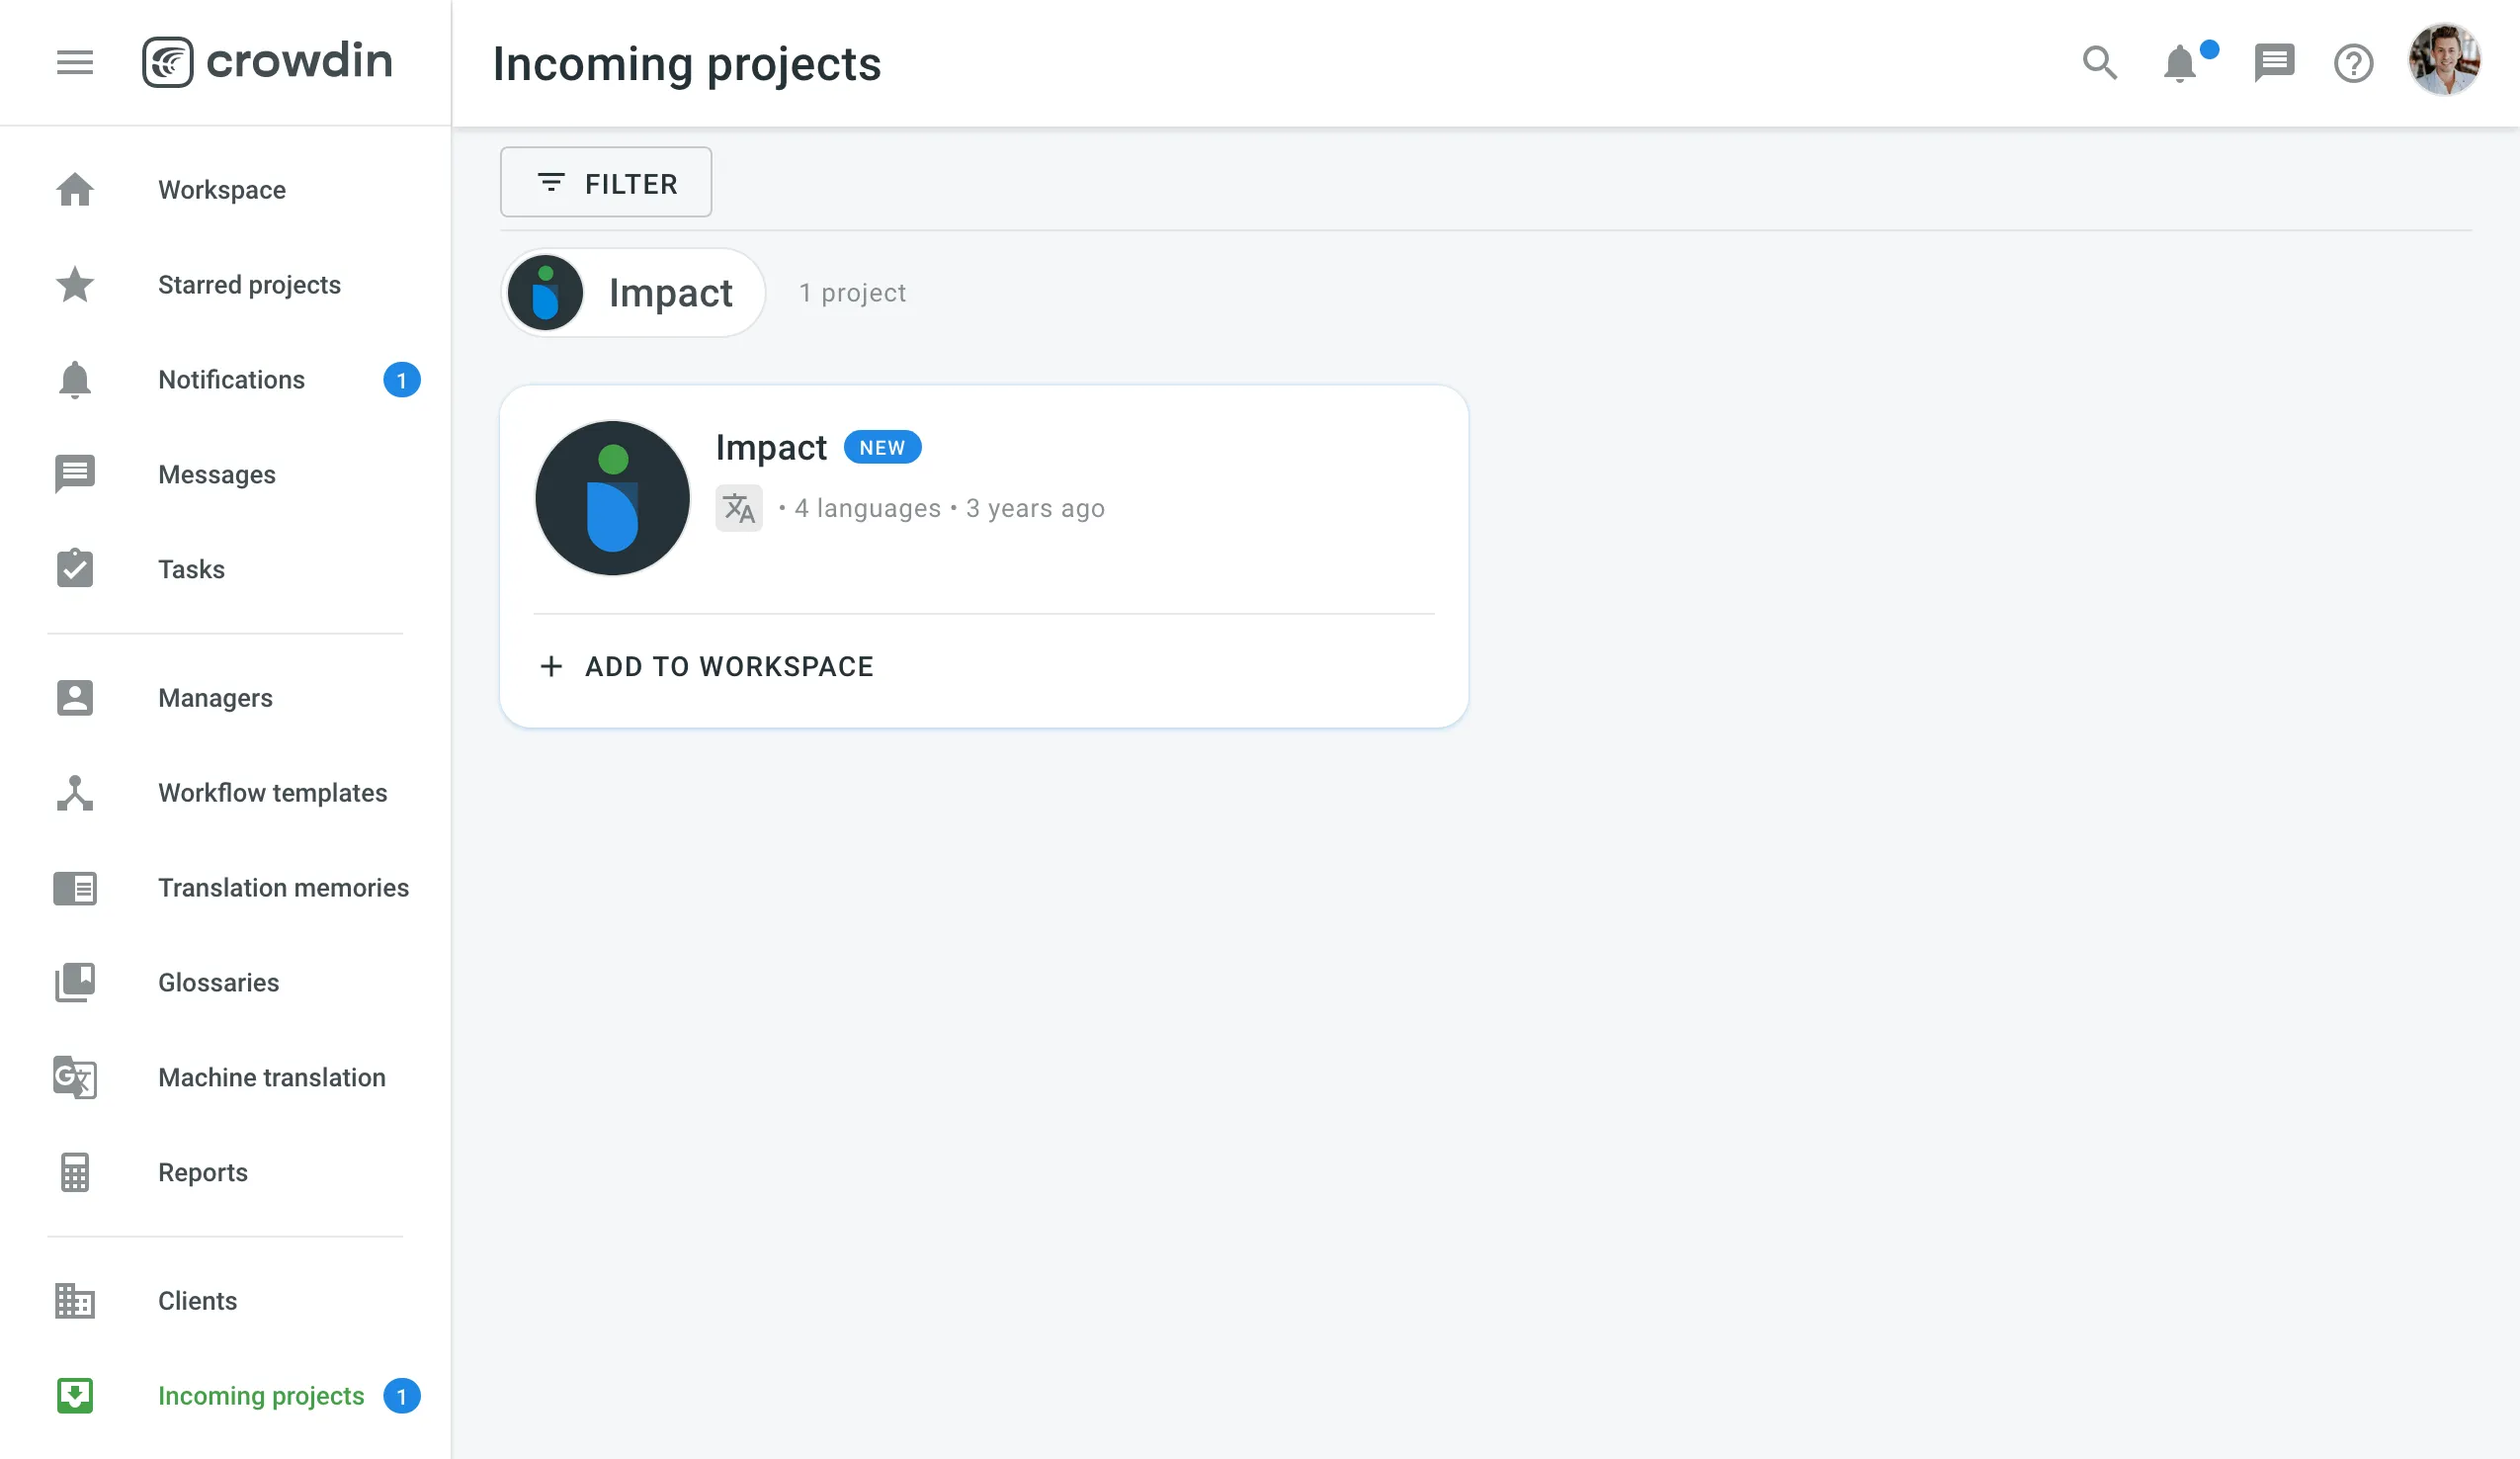
After you click Add to Workspace next to the Incoming project, you can organize that project in your workspace.
To accept a project from a Client, follow these steps:
- Open your organization’s Workspace and select Incoming Projects on the left sidebar.
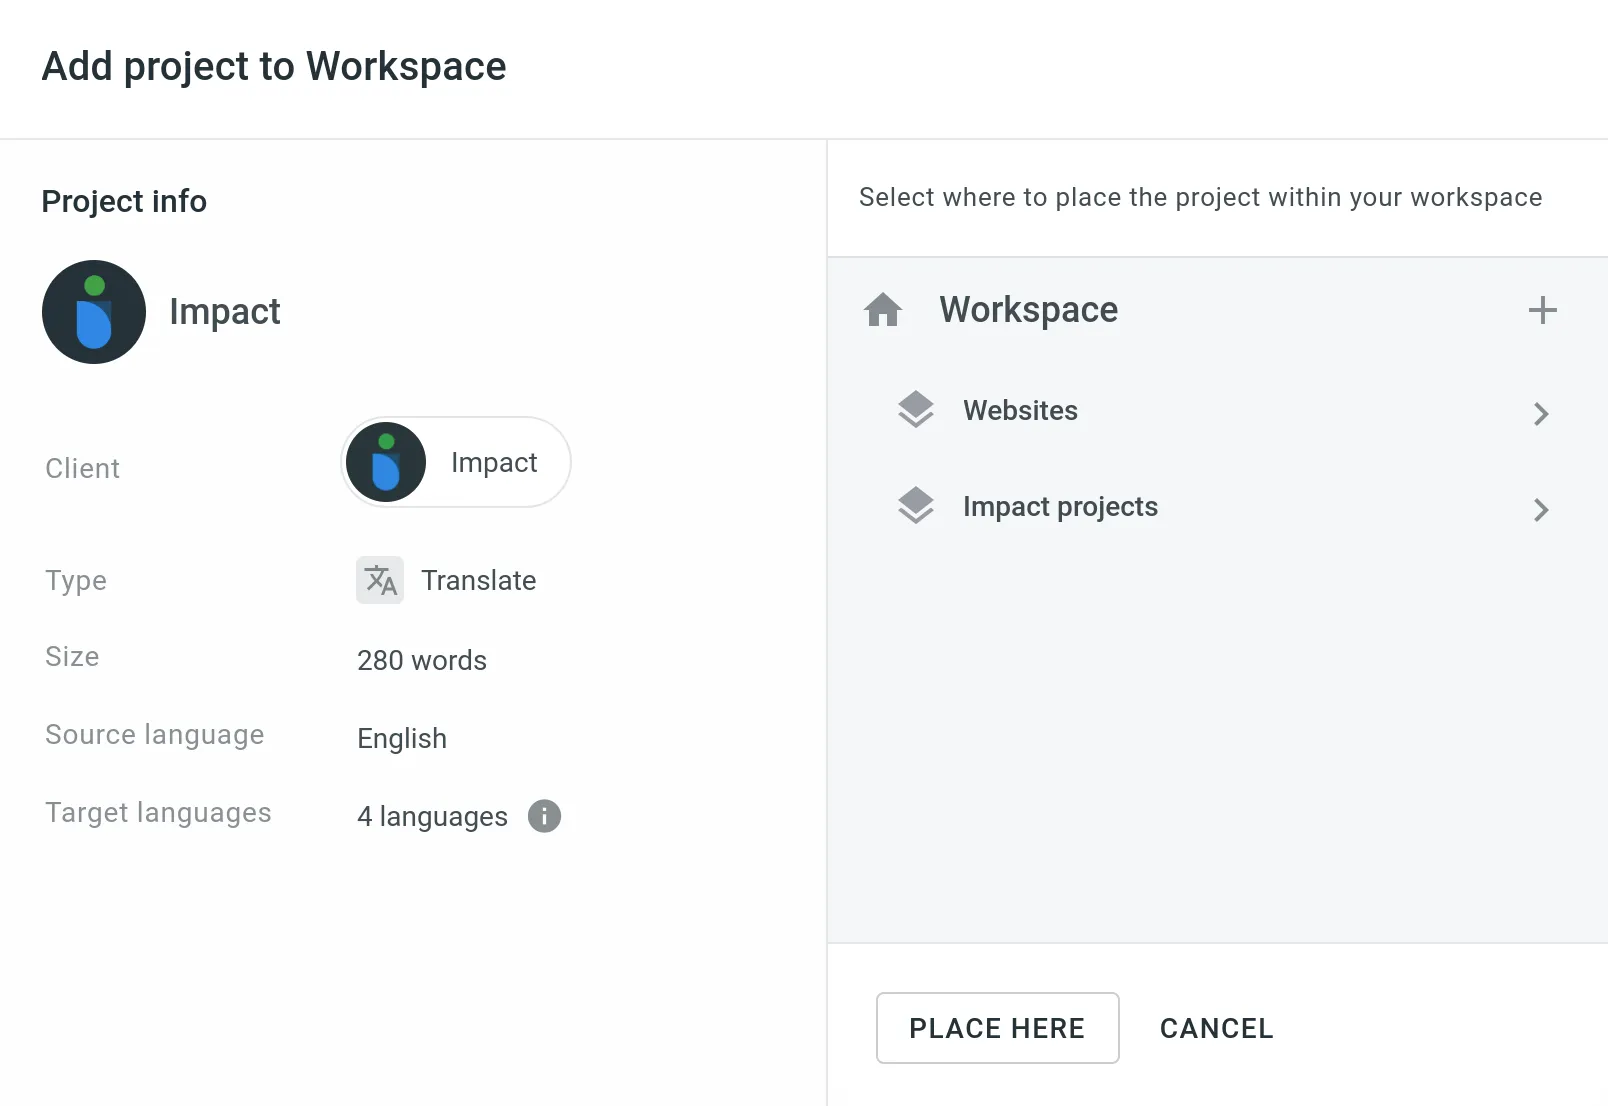
- Click Add to Workspace next to the incoming project.
- Select whether you want to add this project to a Group.
- Assign a workflow.
- Click Place Here.
You can assign managers to each client within the vendor organization. Client managers coordinate the collaboration with this client and its incoming projects.
To assign client managers for multiple client organizations, follow these steps:
- Open your organization’s Workspace and go to Clients > Managers.
- Click Add managers.
- Select needed managers. You can search for members by name, username, or email.
- Select clients to which you’d like to assign the selected managers.
- Click Done.

To assign client managers to a specific client organization, follow these steps:
- Open your organization’s Workspace and select Clients on the left sidebar.
- Click Assign client managers on the needed client organization.
- Select needed managers. You can search for members by name, username, or email.
- Click Done.